


Round Trip Distance: 0.6 miles
Difficulty: Easy
Elevation: 3991 - 4100 feet
Cellphone: 0 bars
Time: 45 mins.
Trailhead: Lower San Rafael River Petroglyphs
Fee: none
Attractions: Fremont petroglyphs
Several nice panels of Fremont Style petroglyphs can be found at a site overlooking the San Rafael River about 25 miles south of Green River, Utah. As the crow flies the site is about 6 miles west of the confluence of the San Rafael and Green Rivers. The shallow alcoves below the petroglyphs show signs of habitation although cows sheltering in the alcoves have mostly obliterated any signs other than the numerous flakes of chert left over from making arrowheads and tools that are scattered about the ground.
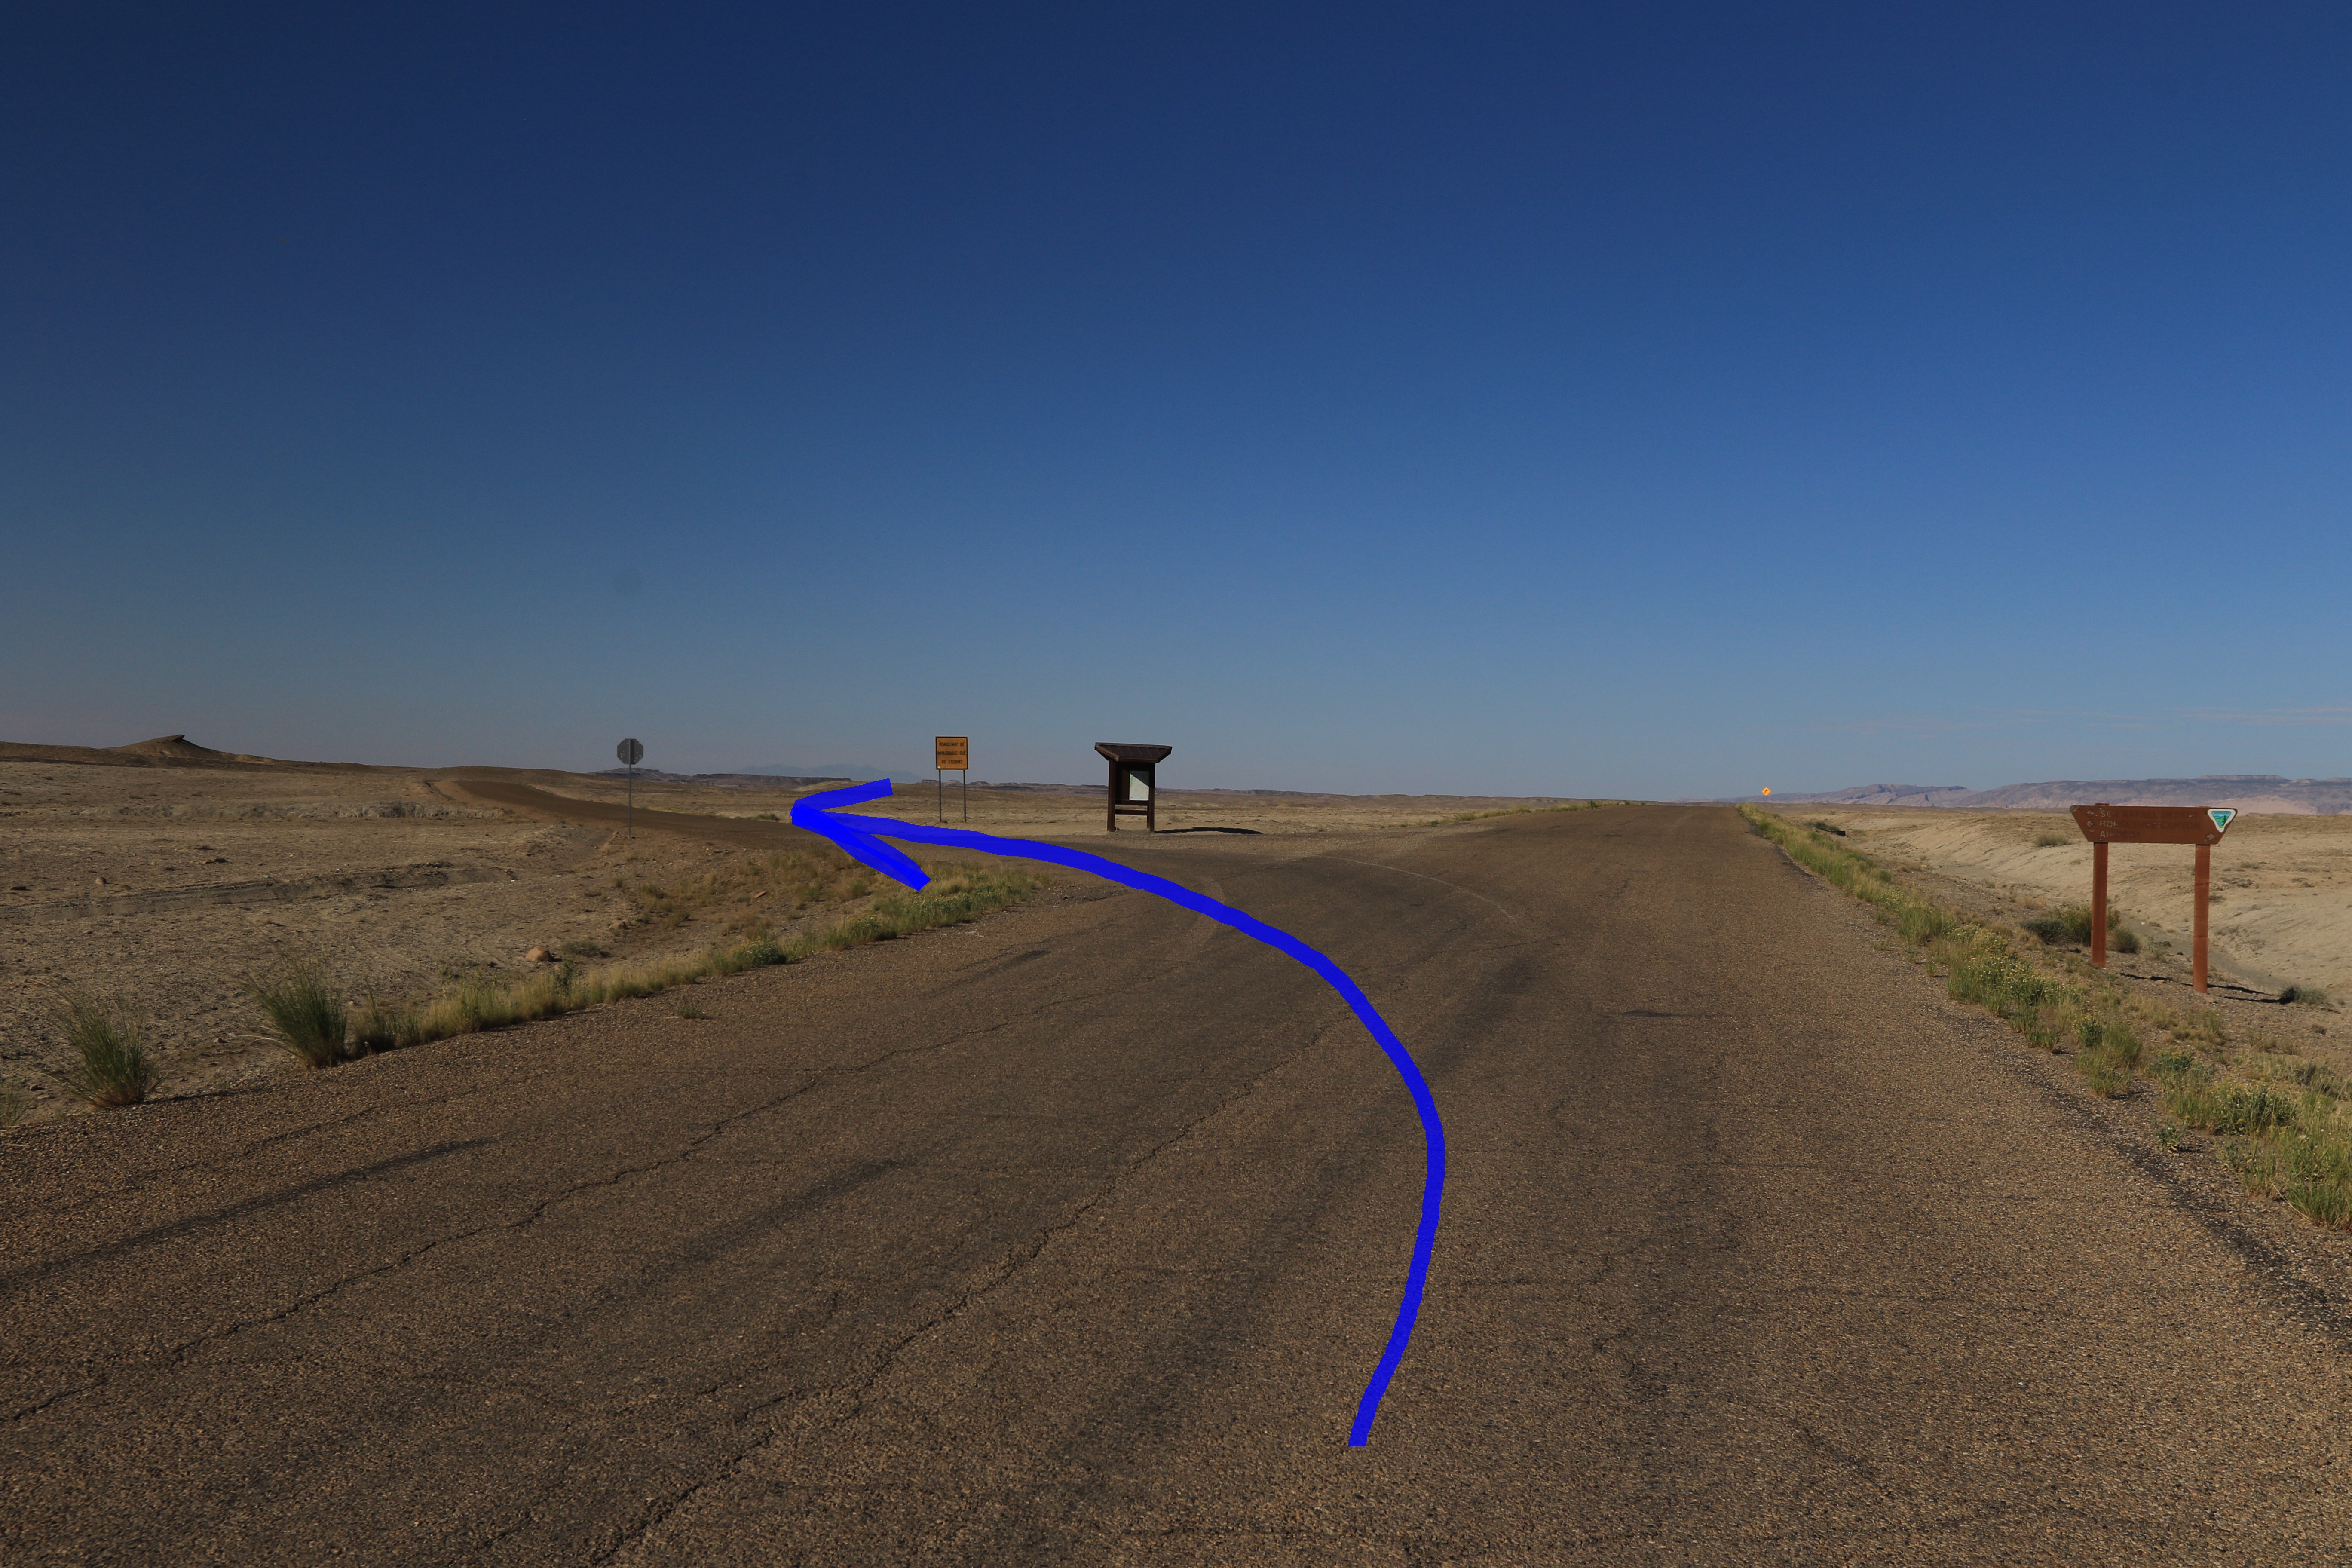
From Green River follow the signs to get to the airport. They will lead you across the railroad tracks heading south and under Interstate 70. Before reaching the airport turn left at the kiosk in this photo taking the road that leads to the San Rafael Desert and the Horseshoe Canyon Annex of Canyonlands National Park. Zero you odometer at this point.

Continue south to the 17.5 mile point and turn right. From here it is 4.1 miles to the trailhead. Beyond this point we recommend a 4wd vehicle with moderate ground clearance to drive all the way to the trailhead due to a few places that are a little sandy but mostly because of a steep hill that is about 1 mile from the trailhead. Vehicles with 2wd could probably make it back up the hill if the got a good run at it but each driver will have to judge that for themselves. For turn by turn directions you can enter 'Chaffin Ranch Geyser' into your driving app and then be sure to keep track of the distance from the Airport Road so that you don't miss this turnoff. This turnoff is also just before the road drops off of the higher ground and crosses the San Rafael River.

After turning off of the Green River Road the route cuts cross country making a short climb up a hill and then passes 3 stock tanks. After passing the stock tanks the road turns due west continuing in a very straight line. About 2 miles from the Green River Road the route comes to a 4-way intersection where there is a tall post on the right with a slanted support. Turn left at this point.

After heading almost south for another 6 tenths of a mile you will come to a steep hill where you will want to pay attention. What you want to do is head off to the right toward what looks like a dead end where there is a half barrel sticking up out of the ground. If you neglect to slant off to the right at this point you will quickly come to an old rutted out route. If you have any doubts simply get out and walk around to get the lay of the roads.

Standing at the top of the steep hill you can see the road stretching off in the distance toward the rim that is above the San Rafael River. It looks a long way off but it is actually right at 1 mile.

Another 4-way intersection comes up before reaching the end of the road but keep going straight at that point. Once you park you can walk over to the edge of the hill where you can look out over the little riparian corridor of the San Rafael River. The petroglyphs are two benches below the end of the road and off to the left a little. On the first bench below where you are standing you should be able to spot a faint trail that wraps around the point. The idea is to follow that faint trail about 50 to 100 feet to the right where you can pick an easy route down the slickrock to the lower bench. Before or after going down to the lower bench you have tho option to hike over to the edge of the rim where you can get a nice view of one of the panels from above.

This is another view of what we are talking about. From the end of the road pick a line that angles off to the left toward the rim. If you have a compass it will be showing almost due east. (If you have a GPS device that you have download our track to then you don't really need any of these wordy directions that we have been relating up to this point.) The dashed line in this photo leads to the overlook while the solid line leads around to the gentle slickrock ramp that heads down to the lower bench.

The overlook itself is a large column of rock that juts out from the rest of the rim where the top of the column is a foot or so below the rim level. You can step down onto the column to better see the panel. You could also downclimb about 10 feet for an even closer view but there isn't much to stand on down there. It would also be too close for a photo once you risked all of that. You can get some pretty nice shots just by laying on your belly and scooting out to the edge.

Once you get down to the level below the rim there is another nice panel that is tucked away beneath an overhang.

This panel also includes a pictograph of a lobed circle that looks a little like a shield.

As you can see the main panel consists of 2 large snakes, 4 large figures that are holding hands, each with different horns or feathers, and 1 smaller figure on the far right. Using a zoom lens we took several scores of photos from various angles and distances.

 There are more photos in this post that show how to get to the petroglyphs than there are photos of the rock art itself. We found this site in Kelsey's 'Hiking, Biking, and Exploring Canyonlands National Park and Vicinity'. Anyone that has ever perused one of Kelsey's books knows all about his small print and vague maps. His maps actually show quite a bit of good detail and his instructions are generally pretty thorough once you separate them from all of the commentary and interesting trivia. You can never have too many sources of information so we carry his books along with more than a dozen others as well as a big box of maps. That might seem like a hefty outlay of cash but with the cost of gas to consider a person doesn't want a lot of wasted trips. As far as the Lower San Rafael River Petroglyphs go, if you would like to see them for yourself then all you have to do is 'Take a hike'.

